When you buy a campervan or motorhome, you should always bear in mind that, even though it was what you wanted when you bought it, it really wasn’t what you wanted at all.
What I mean by that (and see our older blogs on the old motorhome for further evidence) is that there are always, always, things that you wish that the manufacturer or previous owner had done differently, or added, or even not added. It could be something very insignificant in the real world, like having a couple of coat hooks by the door or in a bathroom, or it could be something really quite major like having a (leisure) charging system that actually works to the point that living off-grid becomes feasible. One is obviously quite cheap; the latter can be very expensive.
In the case of the original ZZW, we went to fairly great lengths in converting a brand new moho from what was a short-stay holiday home at best into something that we could comfortably live in for long periods of time while travelling on the continent. That we only did that for a couple of years is a matter for discussion elsewhere, and again, is covered to a fair extent elsewhere, so I don’t propose to revisit it all here.
So, what did we decide to look for when we (Admin*) decided it was time to get back on the road?
Firstly, with Admin – sorry, M – having somewhat shot knees (by her own admission) and not wishing to over-test them on long journeys, the first requirement was for an auto transmission vehicle. This obviously meant looking for something that had a reasonable power output (there’s nothing worse than an underpowered auto IMO). Next, it had to be small enough to fit a standard parking space and go under most if not all barriers even with a pop-top roof installed. Really, that’s the list of criteria covered
This, then, reduces the list of suitable vehicles considerably to (not exclusively) the like of VW Transporters, Mazda Bongos, Mitsubishi Delicas, Toyota Alphards/Vellfires, and Nissan Elgrands. We very quickly discounted the VW option due to the significant on-cost of buying a late T6 or T6.1, together with its ubiquity. I don’t feel that earlier models offer much in the way of durability either, certainly compared to the Japanese opposition, even though they’re still subject to the VW ‘scene tax’. Which brought us to the oriental offerings, all of which are Japanese Domestic grey imports, and therefore not so plentiful as their Teutonic counterparts. I say counterparts, but the obvious difference here is that the JDMs are basically cars which are built to appeal to those wishing to drive Japanese roads in a measure of style and comfort (and if you were to investigate later Alphards in particular you’d see what I mean) whereas VW Transporters are conceived as delivery/builder’s vans and occasionally as ‘people carriers’ or campervans. While there is nothing wrong with that, the vans are certainly set up as vans (although the cabins are comfy and well specced enough) with van suspension and van levels of trim in the load areas. They can be ‘crashy’ to drive, and certainly don’t have the refinement levels of the JDMs. They’re not meant to!
We researched all the JDMs, and fairly quickly came to the conclusion that a recently-imported and professionally-converted Alphard or Vellfire came close to our requirements. They’re pretty much the same tbh, with minor differences in headlights and so on. And so we landed on a 2006 Alphard that had been imported a couple of years earlier by All Seasons (Durham way I think) and converted by them into a side-kitchen pop-top camper. It was advertised on Facebook by its first owner, and after a very long phone conversation with him, we decided it was worth the drive over to the Norfolk Broads the next day. The immediate impression on seeing it was of how clean it was inside and out (and underneath) which is always a good start. After a long and detailed inspection we went for a fairly long and detailed test drive through the Broads, and it quickly became obvious that it was a thoroughly well-maintained gem!
So we bought it there and then, and drove it to a campsite near Kings Lynn for our first overnight, complete with guard dog Lacy!.
It was fine. No, really, it worked pretty well – although we were on a hook-up electric pitch, so why wouldn’t it? There’s the rub, though. We don’t always want to be on an electric pitch. We often prefer to use Aires (French Aires de Camping Car, but there are a few in the UK now, administered by CAMPRA (Campaign for Real Aires), also German Stellplatz, and similar areas in most European countries) and Temporary Holiday Sites (Camping Club), or even ‘wild’ (sorry, crappy name for an off-grid parking spot) park-ups, most of which rarely have hook-ups. Phew – that sentence got a bit out of hand; apologies. The Camping Club (these days Camping and Caravanning Club, and the Caravan and Motorhome Club also licence a selection of ‘Certificated’ Sites or Locations (CS and CL). These are small five-unit, plus sometimes a few tents, sites privately owned, but licensed through the clubs. They tend to be slightly cheaper than club sites (although many owners seem to be stretching their prices somewhat alarmingly since Covid), and potentially quieter, which appeals to us greatly.
The common denominator to most of these sites/park-ups is that mostly (or the ones we’re most likely to use) don’t have electric hook-ups. Which brings us back to the major mod of them all – a reasonably decent off-grid 12v system.
We decided against a full-blown inverter-and-big-battery system on the grounds of cost, packaging constraints, and the fact that having done that before, it really didn’t give all the advantages it could have (for us – other people’s needs differ). Yes, you can go all-electric, stripping out the gas, which we did before apart from retaining gas for hot water, but we don’t envisage going on quite such long jaunts as we did in the original ZZW, and the returns are rather limited. So, we decided to go with a small lithium battery of 100ah (which still more than doubles the available power output that the original 80ah wet battery was capable of). Remember that wet or gel batteries can only effectively output half their rated capacity meaning that 80ah equates to about 40ah real world availability before you potentially screw up the battery for good!
To charge this, we decided on a combined 30amp dc-dc/solar charger, and a 150w CIGS-type solar panel mounted permanently on the pop-top.
Not being all that confident/equipped for converting the original system, I contacted Bruce Lauderdale once again and somehow managed to persuade him to come down from Sheffield for a weekend (it turned out to be a weekend-plus-half-of-Monday…) to do the work. I say somehow, as he nearly had kittens when I told him all the kit I’d bought was Renogy stuff. Bruce doesn’t like Renogy stuff, but the deal I got on it all meant that our preferred Victron kit went right out of the window. I just hope it wasn’t a mistake.
Anyway, as usual, Bruce made an impeccable job of stripping out the Sargent unit and split charger, and installing the new kit – which wasn’t as straightforward as it might have been, but he got there. As a bonus, everything fitted under the driver’s seat, so we also gained a fair chunk of cupboard space too.

Under the seat: Chargers and Battery
If anyone needs top quality electrical work doing on their van or motorhome, I can’t recommend Bruce highly enough. He can be contacted at Powerhouse Off Grid on 0114 470 4562 or admin@powerhouseoffgrid.com. check out their Facebook page and website at http://www.powerhouseoffgrid.com
I’ve also made a few more relatively insignificant mods to improve storage, comfort etc:
The small ‘centre console’ (not really: it’s just a low box installed between the seats that can be easily stepped over, rather than the OEM tall one) had nothing lining it so was noisy and rattly. This, I covered internally with stretch carpet, which is so much better.
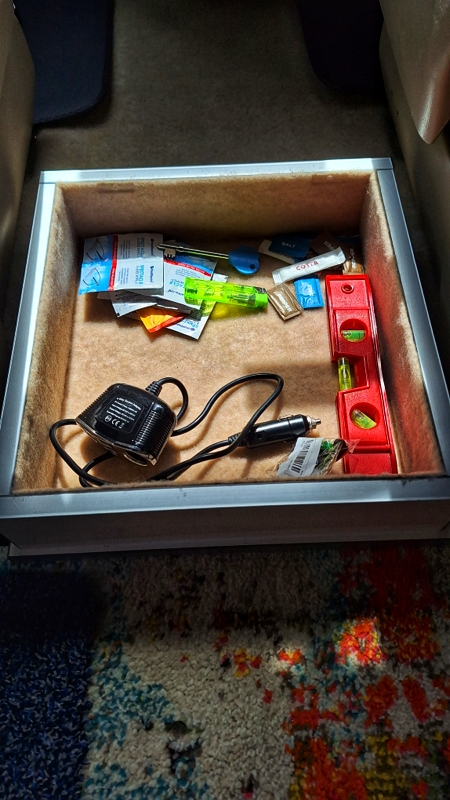
‘Console’ (it also has a lift-off lid btw)
I also made a new shelf for the cupboard where the Sargent electrical supply unit had sat, and this has increased storage quite a bit. And while doing that I lowered the shelf in the adjacent open cupboard slightly, providing a small lip at the front so baskets can be used in there without sliding out every time we take a right-hand turn!
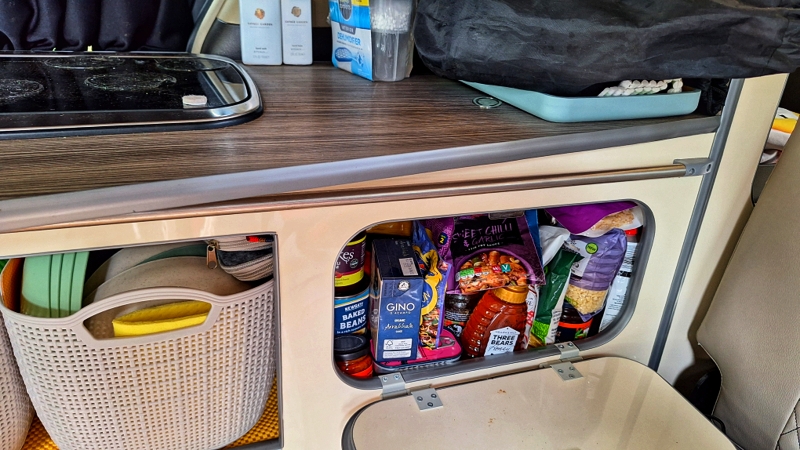
Where there once was a power supply unit, there are now more beans, honey, packs of pasta, etc…
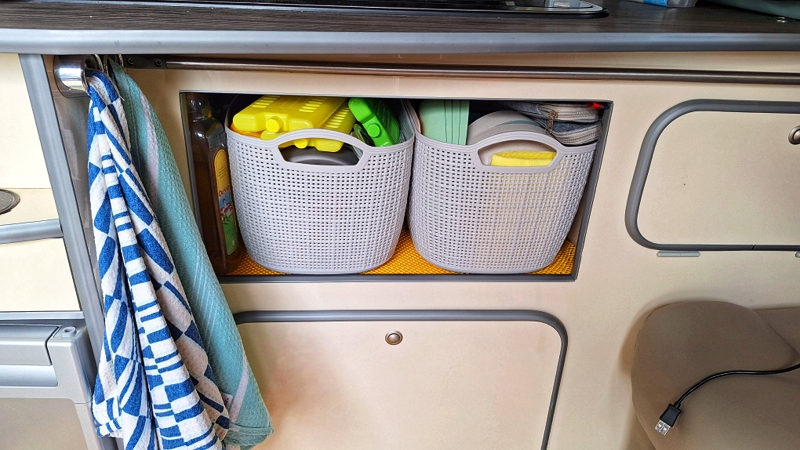
…and baskets on a slightly lowered shelf
On the lighting and power sockets front, I’d already put in a twin mains socket with a couple of built-in USB outlets, and also added a couple of twin USB outlets to be accessible from each side of the bed.
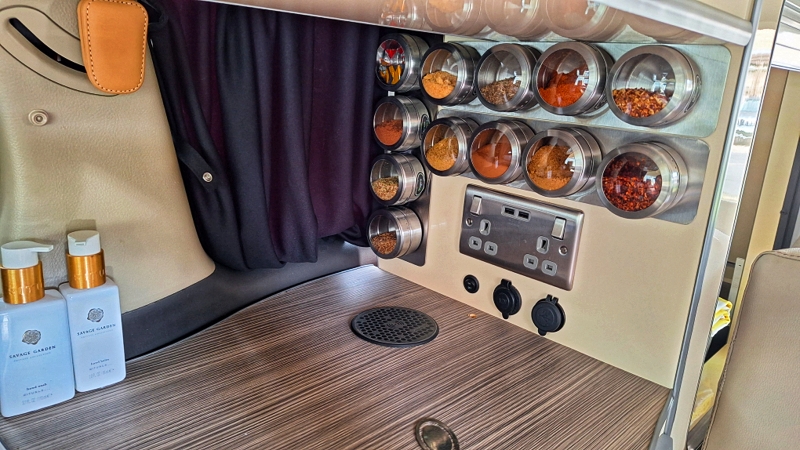
Sockets: 230v, 12v and 5v (and spice racks; lower one hiding the hole where the original Sargent control panel lived)
Lighting was also improved with a dimmable/rechargeable/removeable lamp in the rear of the pop-top’s aperture.
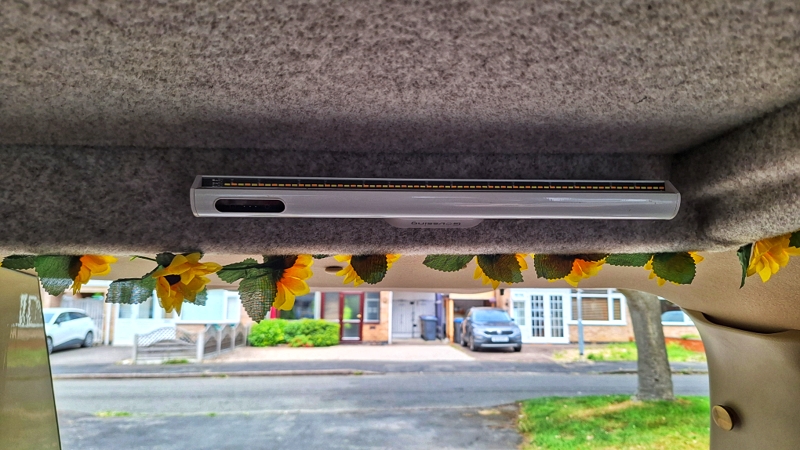
QD rechargeable lamp unit
We decided that the flooring also needed a bit of an upgrade, so M deftly installed a fully fitted carpet which was fashioned from our old now-unused hearth rug – and rather good it looks too, I think.

New(ish) carpet
At the same time I modified the rock and roll bed’s front mounting position, bringing it a few inches forward which gave the seat back rather more recline angle, making it a lot more comfortable than the original bolt-upright position.
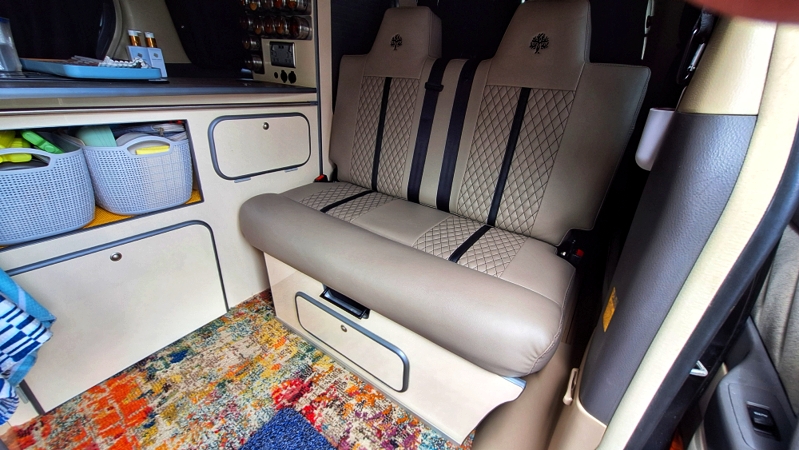
Rear seat base now sits about four inches forward of stock position for slightly improved lounging comfort
Back on the storage front, two subtle mods also help. Firstly, I simply removed the board (with its small hinged door) from the rear of the bed frame, thus giving much better access to all the space beneath the bed/rear seat. It was hopeless before. Now it’s much easier to cram in lots of kit. An easy but so-beneficial mod.
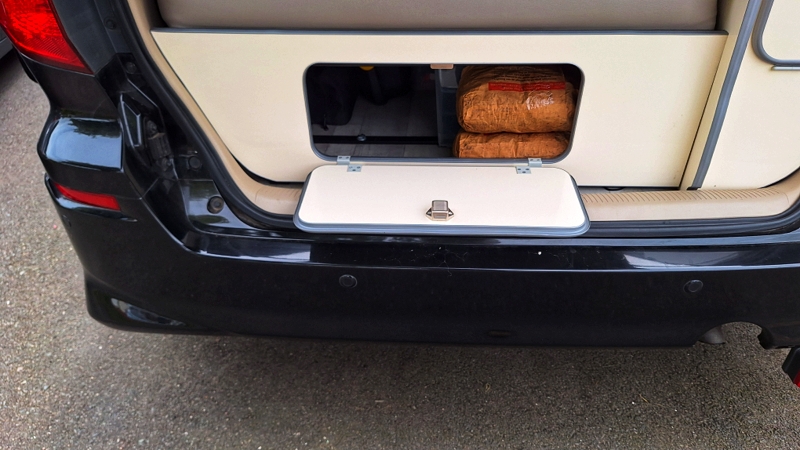
Before…
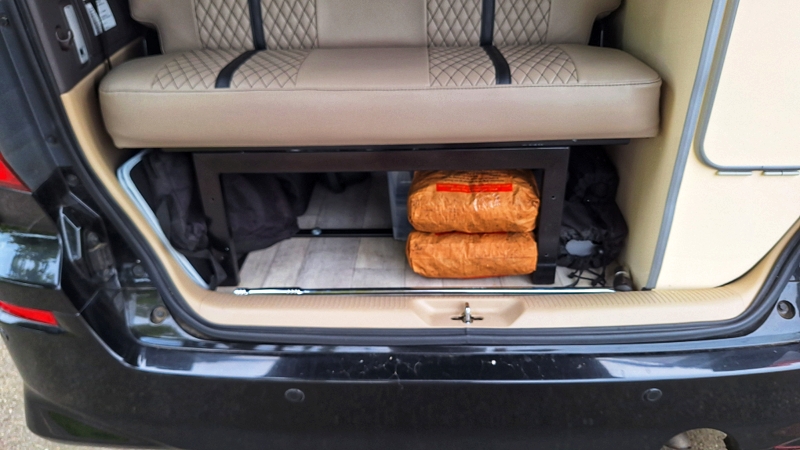
…and after
M also bought an Olpro storage bag which hangs from the back of the front passenger seat. This has multiple pockets for storing dog poo bags, treats, etc. etc.. It wasn’t easy to secure the bottom of it, and I’m not entirely happy with the way I’ve done it, so will revisit at some point.
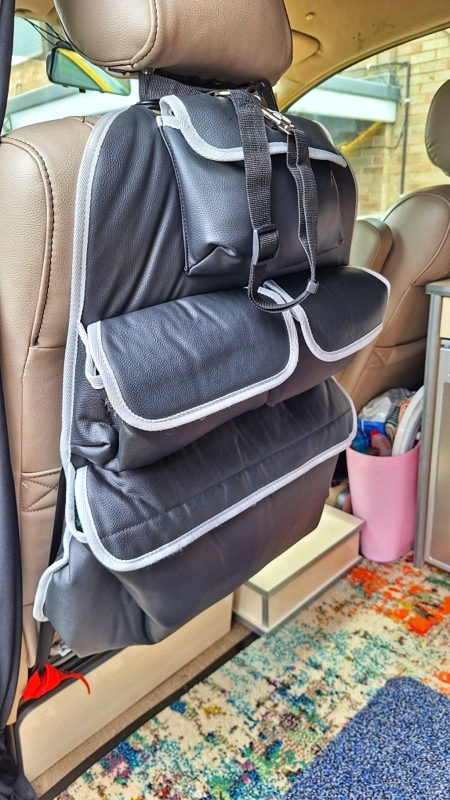
Poo (bag) space
And finally, M brightened up the interior somewhat by adding strings of yellow flowers (fake, obvs) around the pop-top aperture. Very pretty!
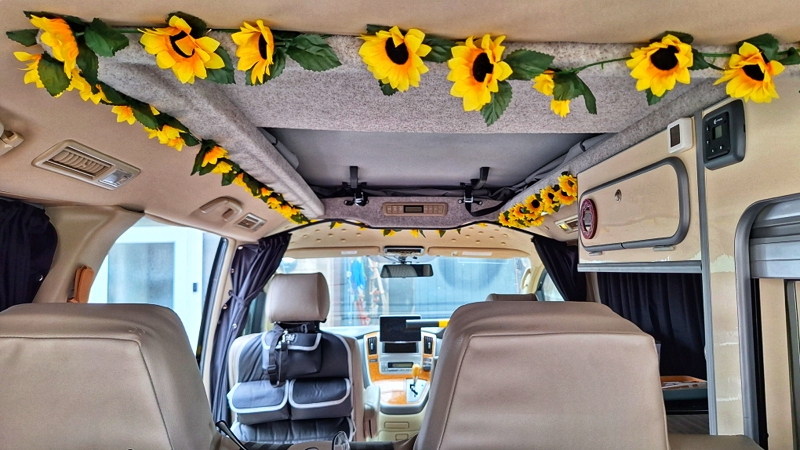
Just like a florist’s shop. (Or maybe not)
I’m sure there are other small changes that I’ve forgotten about – oh, yes, rubber mats in the front footwells replacing the hideous ones that came with it – but that will do for now…
*I guess I could call myself Admin now really as M does virtually all the driving, but not having a name that is a reshuffle of the constituent letters of Admin, I won’t).

Leave a comment